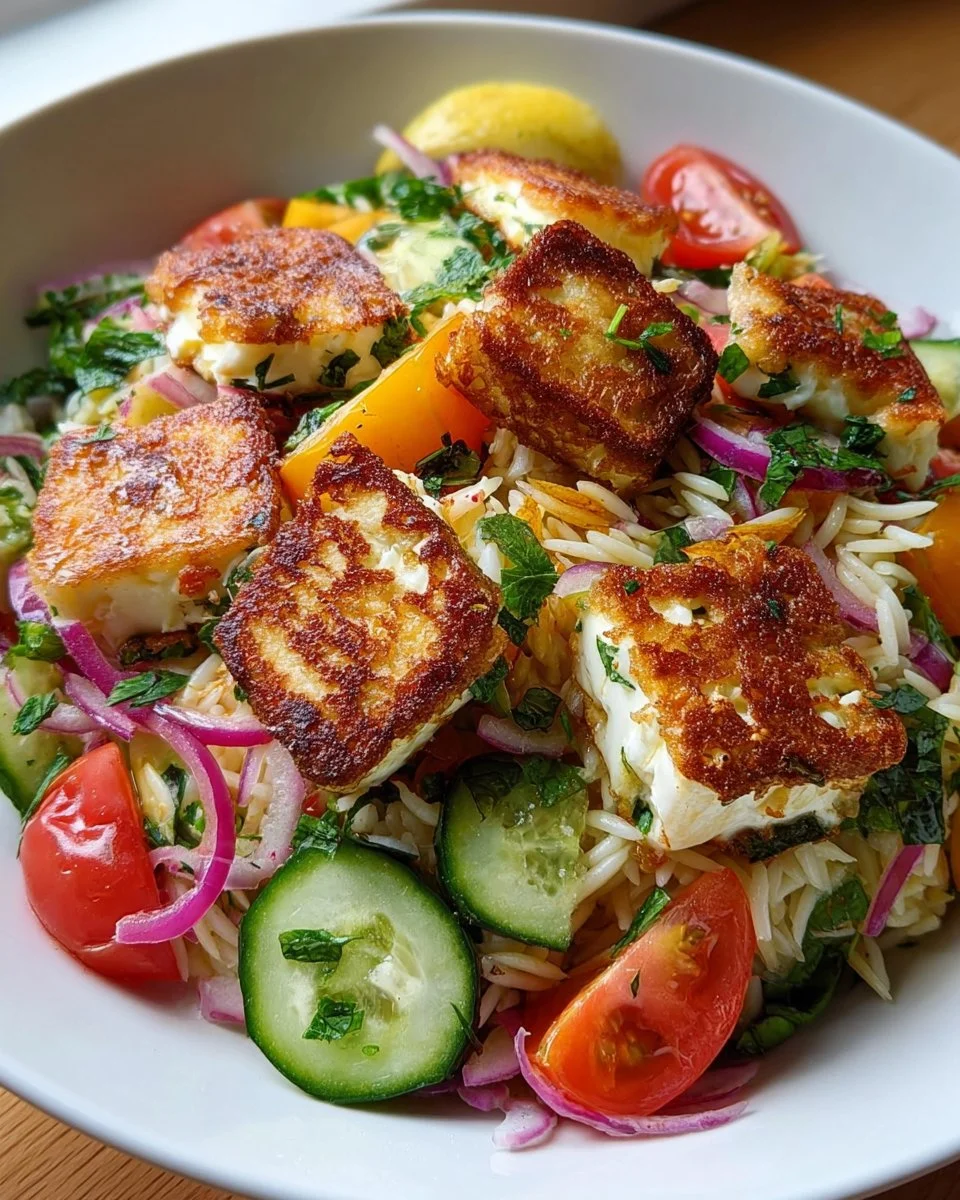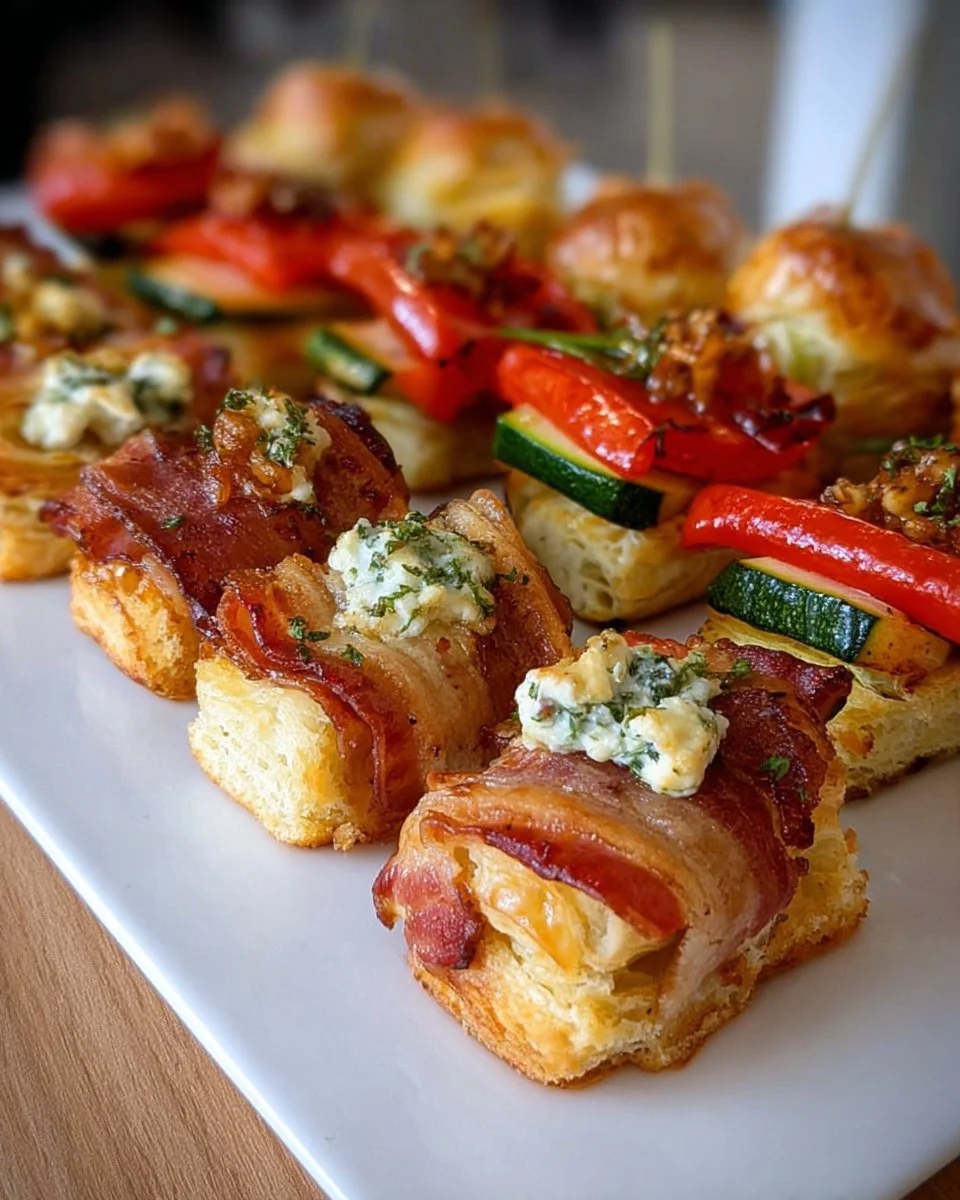
There’s something undeniably enchanting about finger foods that whispers celebration and shared joy. Picture a sun-drenched afternoon, laughter swirling in the air, and trays of colorful, bite-sized delights gracing the table. Whether it’s a whimsical brunch, a lively party, or a relaxed buffet, finger foods challenge the formality of traditional dining. Each little morsel promises a burst of flavor, a crunch, or a creaminess that beckons you to indulge—each piece a small celebration of taste inviting everyone to gather around.
As you prepare these delightful bites, the kitchen fills with the aroma of fresh vegetables and the warmth of baking dough. The moment you slide the golden pastries out of the oven, their enticing scent dances through the air, wrapping around you like a cozy blanket. You can almost taste the crispy exterior, waiting to yield to a luscious filling, rich with flavor and a touch of herbaceous freshness. What’s not to love?
Why You’ll Love This Finger Food Recipe
Imagine hosting a gathering where every guest feels special, indulging in perfectly crafted bites that spark joy and conversation. This finger food recipe straddles the line between simplicity and sophistication, making it ideal for any occasion—be it a birthday bash, a holiday feast, or a casual get-together with friends. The combination of fresh vegetables, your favorite cheese, and flaky pastry creates a delightful harmony that is both comforting and exciting.
Each bite bursts with flavor—crunchy, juicy veggies balanced by creamy cheese and punctuated by the comforting warmth of baked dough. The combinations seem endless, allowing you to customize each batch to cater to your guests’ tastes or dietary preferences. Pair these morsels with vibrant dips, and you have a show-stopping treat that delights both the palate and the eyes. This recipe transforms simple ingredients into a gourmet experience—one that you and your guests will remember long after the last bite.
Preparation Phase & Tools to Use
For this delightful finger food, a few essential kitchen tools ensure your culinary adventure proceeds seamlessly:
- Sharp Knife: A good quality knife allows you to slice through vegetables smoothly, preserving their fresh textures.
- Rolling Pin: Utilize this to effortlessly roll out your pastry, providing a thin, even base for your filling.
- Baking Sheet: A sturdy baking sheet ensures even cooking and a crisp finish for your pastries.
- Parchment Paper: Lining your baking sheet with parchment prevents sticking and guarantees easy cleanup.
- Mixing Bowl: Use a large mixing bowl to combine cheese and herbs, making it easy to evenly distribute flavors.
Preparation Tips: Always have your ingredients prepped and ready to go to make the assembly swift and enjoyable. Fresh vegetables should be washed and cut into bite-sized pieces before you begin, ensuring a beautiful arrangement in your pastries.
Ingredients for Finger Food Pastries
- Fresh Vegetables (Bell Peppers, Cucumbers, Carrots): Choose bright, vibrant veggies for a visually appealing dish. You can also substitute with seasonal vegetables for variety and freshness.
- Cheese (Your Favorite Cheese or Vegan Alternative): The heart of your filling, a good cheese adds richness. Try mozzarella, cheddar, or a creamy vegan cheese as a delightful alternative.
- Puff Pastry: This flaky delight forms the base of your pastries. If short on time, consider buying pre-made options from your local grocery store for convenience.
- Dips (Hummus, Yogurt Sauces, Pestos): Dips elevate your finger foods, offering layers of flavor. You can quickly throw together a homemade pesto or use store-bought for simplicity.
- Spices (Herbs, to Taste): Fresh herbs like basil, thyme, or parsley will brighten your filling and enhance its freshness.
How to Make Finger Food Pastries
-
Wash and Cut the Fresh Vegetables: Start by washing your colorful veggies. Cut them into pieces that are easy to manage and provide a delightful crunch when you bite into them.
-
Roll Out the Puff Pastry: Lightly dust your counter with flour and roll out the puff pastry to your desired thickness. Make sure it’s not too thin; you want it to hold the delicious filling.
-
Mix the Filling: In a mixing bowl, combine your cheese with herbs and spices. Feel free to taste as you go, adjusting the flavors until it’s just right!
-
Fill the Pastry: Place a spoonful of your filling on a piece of the rolled-out pastry. Fold the pastry over, creating a little pocket, and press the edges firmly to seal in all the wonderful flavors.
-
Bake the Filled Pastries: Preheat your oven to 200°C (or around 400°F), and place your filled pastries on a prepared baking sheet lined with parchment paper. Bake for about 20 minutes until they turn a golden brown, filling your kitchen with the most inviting aroma.
-
Prepare Dips: While the pastries are baking, get creative with your dips. Think bright, fresh, and zesty. Arrange them beautifully for serving.
Chef’s Notes & Helpful Tips
- Make-Ahead Tips: You can prepare the filling a day in advance and keep it in the fridge. Just assemble and bake them just before serving for maximum freshness.
- Cooking Alternatives: If you’re short on time, consider using an air fryer for a faster crispy result. Just check that they turn golden without burning.
- Customization Ideas: Switch up the vegetables based on what’s in season or your personal favorites. Perhaps add in roasted garlic for depth, or drizzle with hot sauce for a kick.
Common Mistakes to Avoid
When whipping up these delightful bites, a few pitfalls can undermine your success:
- Overfilling: Resist the temptation to overstuff your pastries. They need room to expand and cook properly; too much filling will result in messy pockets.
- Forgoing Egg Wash: For that beautiful golden sheen, brush your pastries with beaten egg before baking. This tiny step makes a big difference in presentation.
- Skipping the Chill: Keeping the assembled pastries in the fridge for about 15 minutes before baking helps maintain their shape and ensures a flaky crust.
What to Serve With Finger Food Pastries
Enhance the dining experience by pairing your pastries with an array of delightful accompaniments:
- Crisp White Wine: An aromatic white enhances the flavors of the vegetables and cheese beautifully.
- Sparkling Water with Lemon: Its refreshing tang cuts through the richness, creating balance.
- Charcuterie Board: Round out the experience with a selection of meats and cheeses.
- Seasonal Fruits: Fresh fruits like berries or melon add a sweet contrast to the pastries.
- Mini Salads: Light salads with zesty dressings provide a fresh palate cleanser.
- Chips or Crackers: Serve with a crunch for those who love textures.
- Vegetable Platters: Offer fresh veggies with dips to keep the health-conscious happy.
Storage & Reheating Instructions
Store any leftover pastries in an airtight container in the fridge for up to three days. They also freeze well for longer storage—layer with parchment paper, and place in a freezer-safe bag. To reheat, bake from frozen at 190°C (about 375°F) until hot and crispy, typically around 20 minutes.
Estimated Nutrition Information
While precise values depend on component choices, a rough estimate for one pastry includes:
- Calories: 150-200
- Protein: 5-8g
- Carbohydrates: 12-15g
- Fats: 8-10g
- Fiber: 1-2g
Please remember these values can vary. Always adjust based on the exact ingredients used.
FAQs
1. Can I make these pastries vegan?
Absolutely! Substitute regular cheese with a vegan cheese alternative and use plant-based pesto or hummus for dips.
2. How can I ensure the pastry remains flaky?
Keep your pastry chilled as you work. Warm pastry doesn’t puff up properly, leading to a denser texture.
3. What other fillings can I try?
You can experiment with ingredients like sautéed mushrooms, spinach with feta, or roasted red peppers for delightful variations.
4. Can I bake these in advance?
Yes, you can! Bake them ahead of time and just warm them in the oven before serving.
5. How do I keep these warm for a party?
Consider placing them in a slow cooker on ‘warm’ or a buffet warming tray to keep them at the perfect serving temperature.
Every occasion deserves a sprinkle of magic, and what better way to weave that enchantment than with these delightful finger food pastries? Their inviting aroma, vibrant colors, and bursting flavors will ignite laughter and stories shared around the table. So roll up your sleeves, gather your ingredients, and let each bite transport you and your loved ones to a world of culinary delight. Together, let’s celebrate the joys of good food and great company!
Print
Finger Food Pastries
- Prep Time: 15 minutes
- Cook Time: 20 minutes
- Total Time: 35 minutes
- Yield: 12 pastries
- Category: Appetizer
- Method: Baking
- Cuisine: International
- Diet: Vegetarian
Description
Delight your guests with these charming finger food pastries, filled with fresh vegetables and rich cheese, all wrapped in flaky puff pastry.
Ingredients
- Fresh Vegetables (Bell Peppers, Cucumbers, Carrots)
- Cheese (Your Favorite Cheese or Vegan Alternative)
- Puff Pastry
- Dips (Hummus, Yogurt Sauces, Pestos)
- Spices (Herbs, to Taste)
Instructions
- Wash and cut the fresh vegetables into bite-sized pieces.
- Roll out the puff pastry to desired thickness.
- Mix the filling by combining cheese with herbs and spices.
- Fill the pastry with a spoonful of filling and seal the edges.
- Bake the pastries at 200°C (400°F) for about 20 minutes until golden brown.
- Prepare dips while pastries are baking.
Notes
Make-ahead: Prepare the filling a day in advance. Customize the filling based on seasonal vegetables.
Nutrition
- Serving Size: 1 pastry
- Calories: 175
- Sugar: 2g
- Sodium: 350mg
- Fat: 9g
- Saturated Fat: 4g
- Unsaturated Fat: 4g
- Trans Fat: 0g
- Carbohydrates: 18g
- Fiber: 2g
- Protein: 6g
- Cholesterol: 20mg